H and T Contract
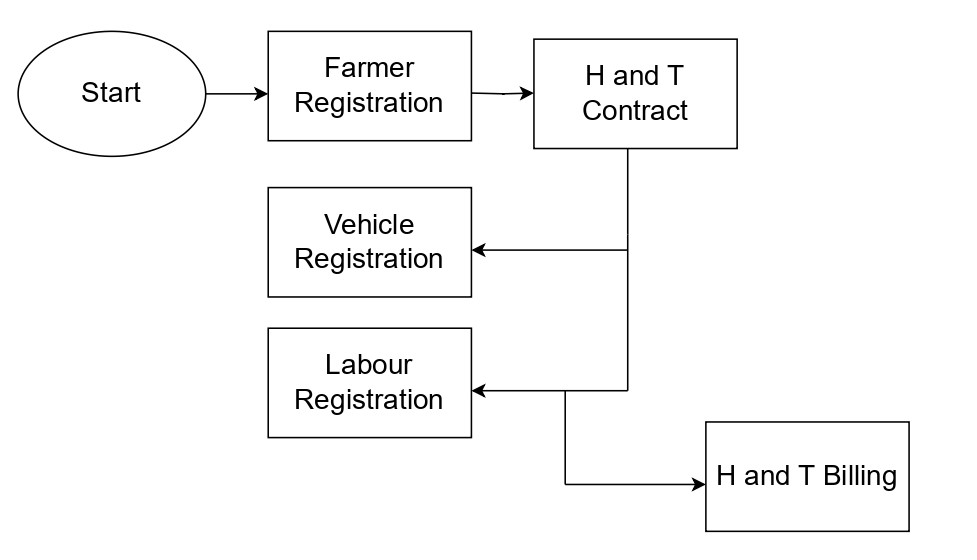
Sugar Mills > H and T Contract.
Prerequisite
Season
H & T No ( H and T master)
Plant Name (युनिटचे नाव)
Gang Type
Village
Taluka
District
State
Steps to Create H and T Contract in ERPNext:
Step 1: Go to H and T Contract and Click on "Add H and T Contract":
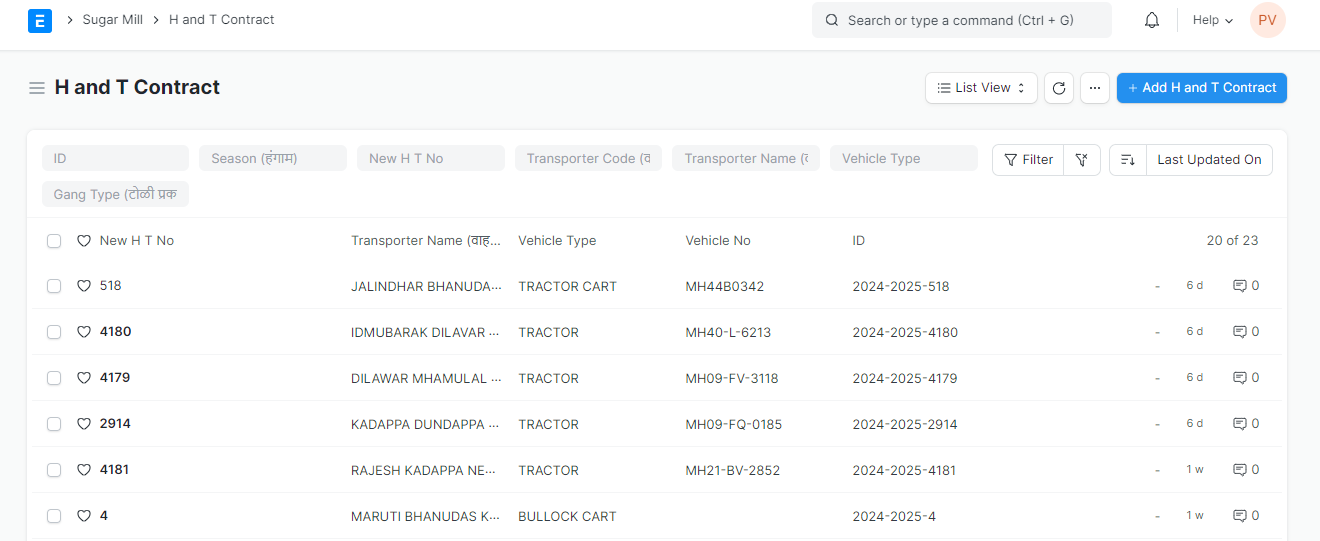
Step 2:
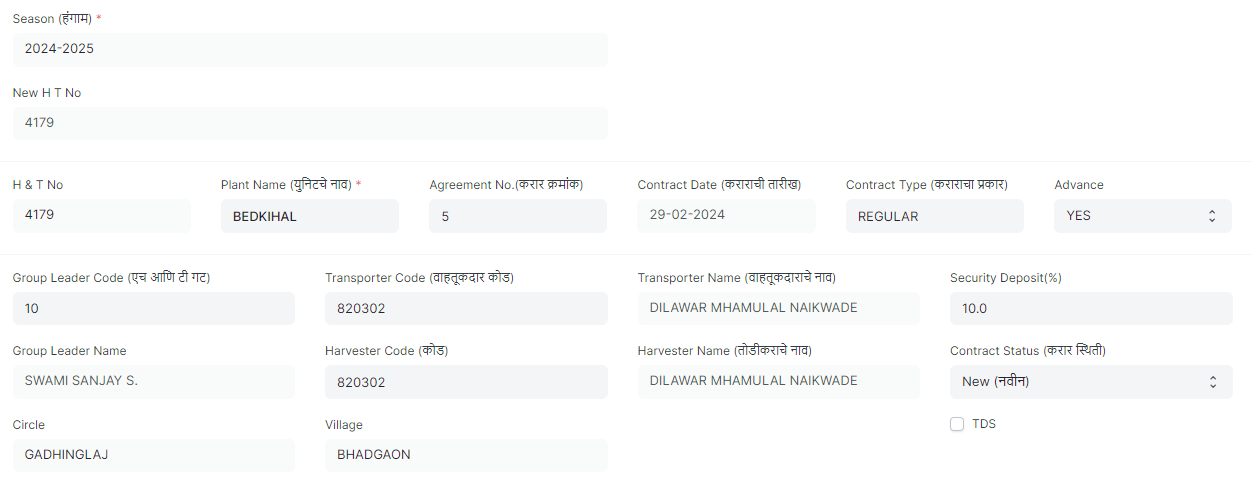
Season: This specifies the sugarcane harvesting period. Select the Season.
H & T No: Select the H & T No ( H and T Master). Once the H and T Master is selected, Transporter Code (वाहतूकदार कोड), Transporter Name (वाहतूकदाराचे नाव), Harvester Code (कोड), Harvester Name (तोडीकराचे नाव), Village, Security Deposit(%), Contract Status (करार स्थिती), Circle Office, Contract Type, Advance gets automatically fetched.
Plant Name (युनिटचे नाव): Select the Plant.
Agreement No.(करार क्रमांक): Enter Agreement Number.
Contract Date: Mention the contract date.
Vehicle Type: Select the type of vehicle used for transportation. Common options include trucks, tractors, or trailers.
Vehicle No.: Enter the Vehicle registration number.
Trolly 1 & 2: These fields are likely for specifying the identification numbers of any trailers attached to the main vehicle.
Total Vehicles: The total number of vehicles involved in the transportation process.
Gang Type (टोळी प्रकार): Select the Gang Type.
Mukadam Name: Enter name of the person who supervises the harvesting crew.
Village: Select the Village where the sugarcane harvesting will take place. Once the Village is selected, Taluka, District, State gets automatically fetched.
Mobile: Enter the contact number for the person responsible for the harvesting operation.

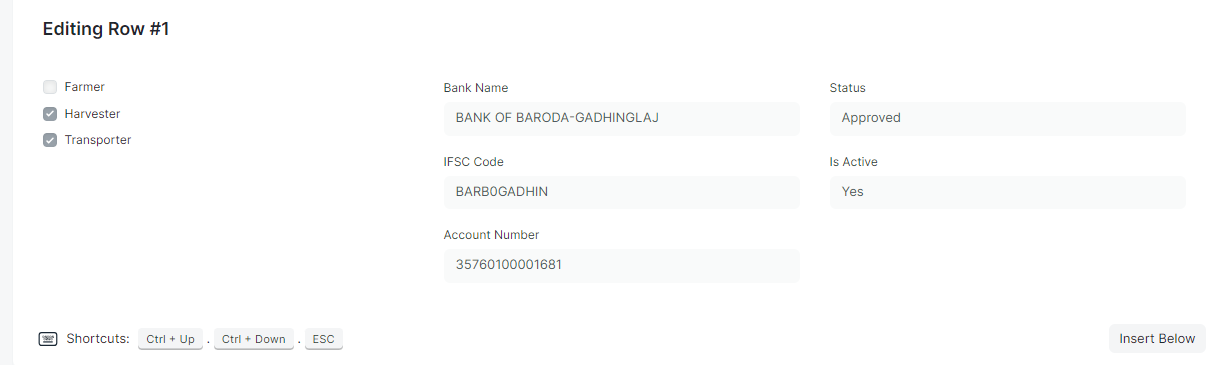
Account Type: Choose from options like Farmer, Harvester, Transporter to specify the purpose of the account.
Bank Name: Enter the name of the farmer's bank. IFSC Code, Bank & Branch will automatically fetched.
Account Number: Enter the farmer's bank account number.
Status: Change the status to either Approved or Not Approved.
Is Active: Enable if its active.
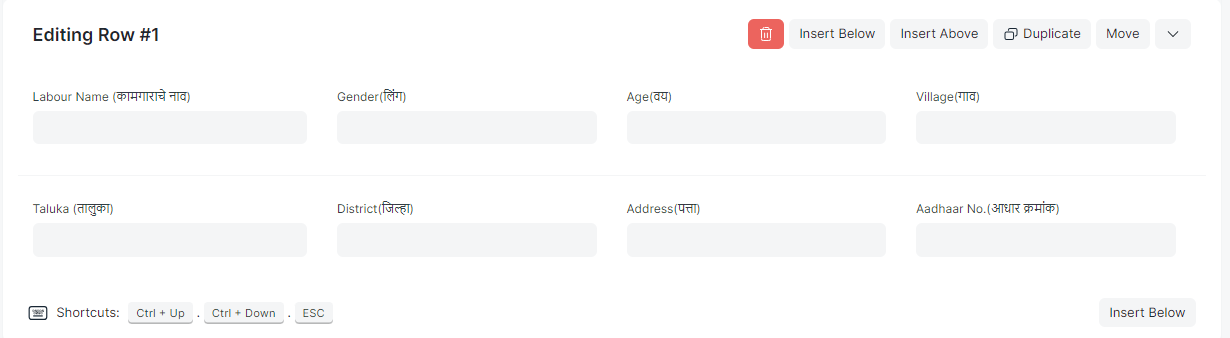
Labour Details: This section should include names, gender, age, addresses, and Aadhaar numbers of workers.
Step 3: Click on "Save".