Supplier Group
ERPNext allows you to create your categories of suppliers. These categories are known as Supplier Groups.
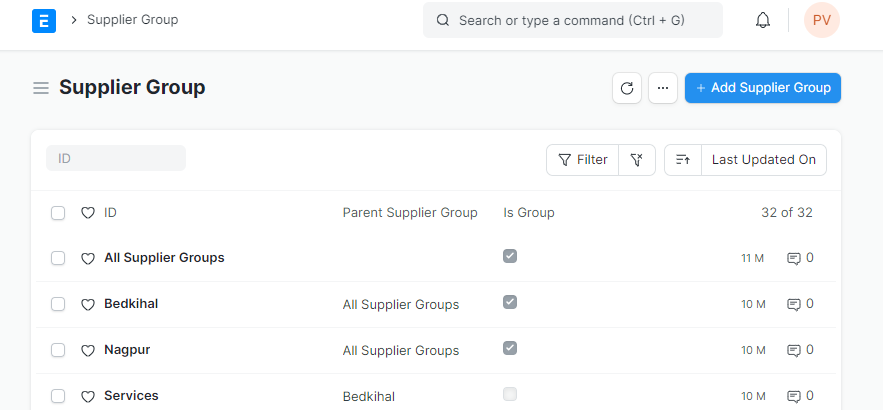
To access Supplier Group, go to: > Home Buying > Supplier > Supplier Group.
How to Create a Supplier Group
Go to the Supplier Group list, click on "Add Supplier Group".
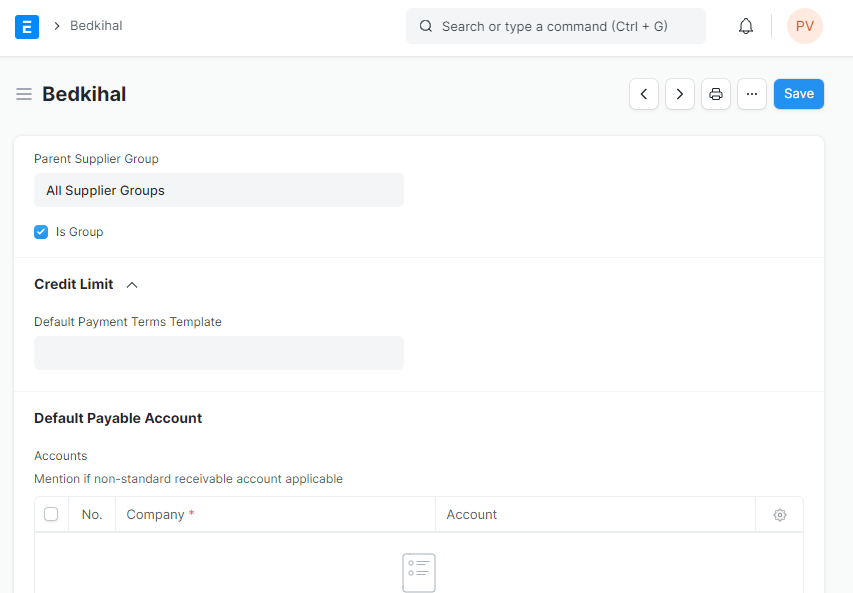
Type a name for your new Supplier Category.
You can set a Parent Supplier Group for this Supplier Group.
Ticking the Is Group checkbox will make it a Parent Supplier Group.
You can also assign a default Payment Terms Template to the Supplier Group. Useful in a case where all your hardware suppliers take half payment on sales order and half post shipment.
Save.
You can classify your suppliers from a range of choices available in ERPNext. Choose from a set of given options like Distributor, Electrical, Hardware, Local, Pharmaceutical, Raw Material, Services etc. Classifying your supplier into different types facilitates accounting and payments.
3. Supplier Group Tree
You can also construct a Supplier Group in the form of a tree hierarchy, similar to a Chart of Accounts.
To view the Tree structure, click on Tree from the sidebar. To go back to the list view, simply select Menu > View List.
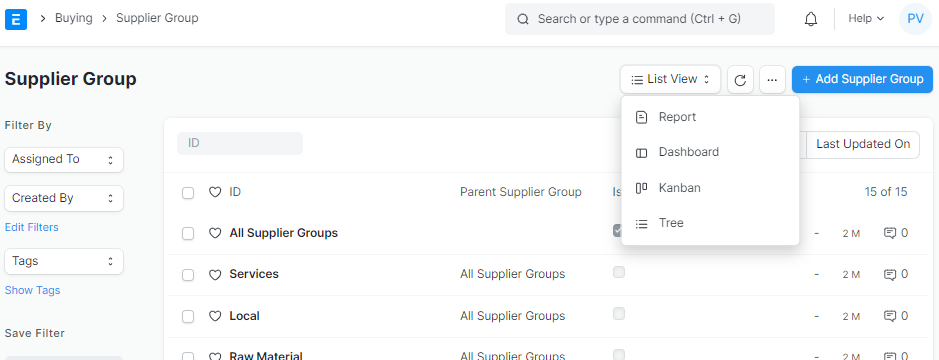
Click on "Tree".
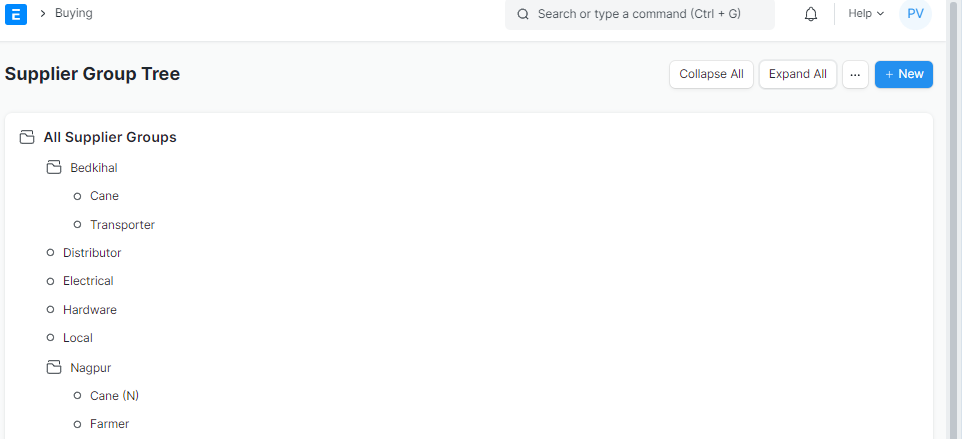
With the new User Permissions in place, you can now apply hierarchy-based permissions. That is, if a User is permitted to view the parent node of the Supplier Group, he/she automatically qualifies to view the child nodes of that parent node.
For example, in the above image, let's say that user permission is applied for a User to view the 'Bedkihal' document. Then the user also gets permitted to view its child nodes 'Cane', 'Transporter', etc.