Sugar Sales Cycle

Release Order (Quota)
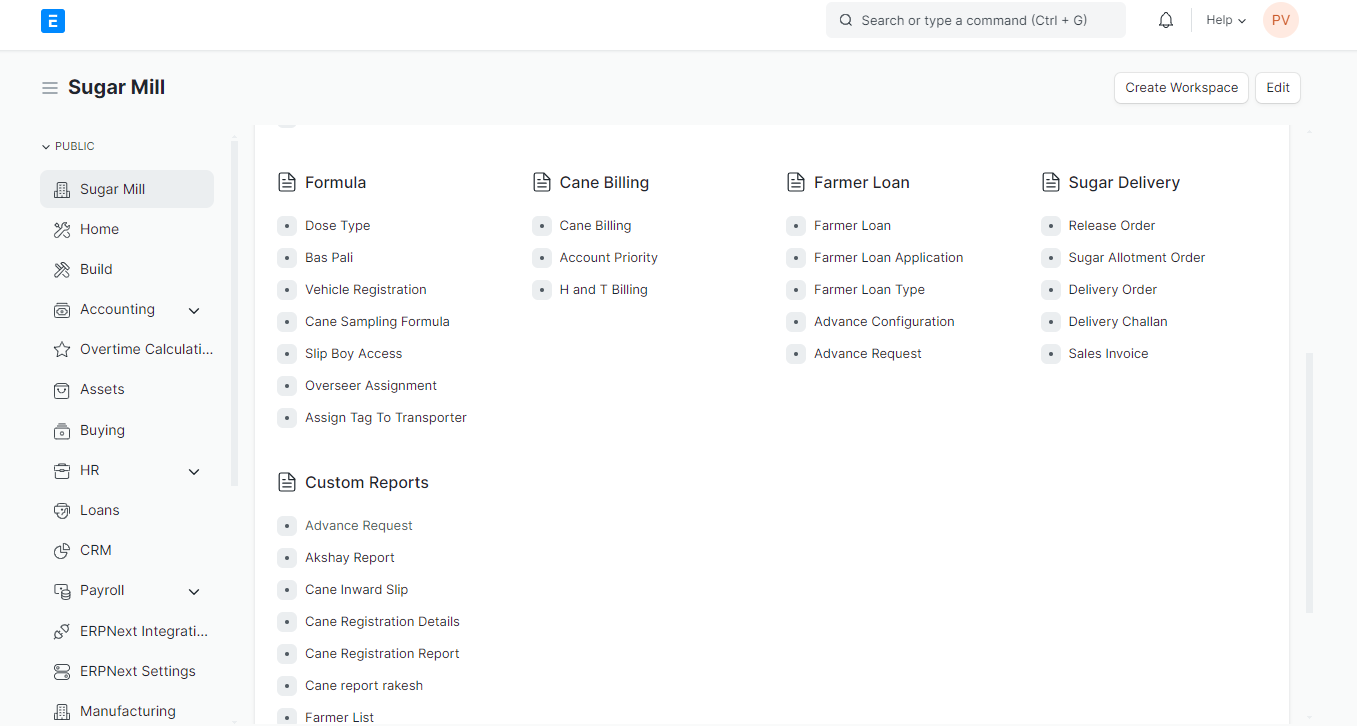
Sugar Mill > Sugar Delivery > Release Order.
Prerequisite for Release Order:
Branch
Item Groups
Item
Steps to create Release Order in ERPNext:
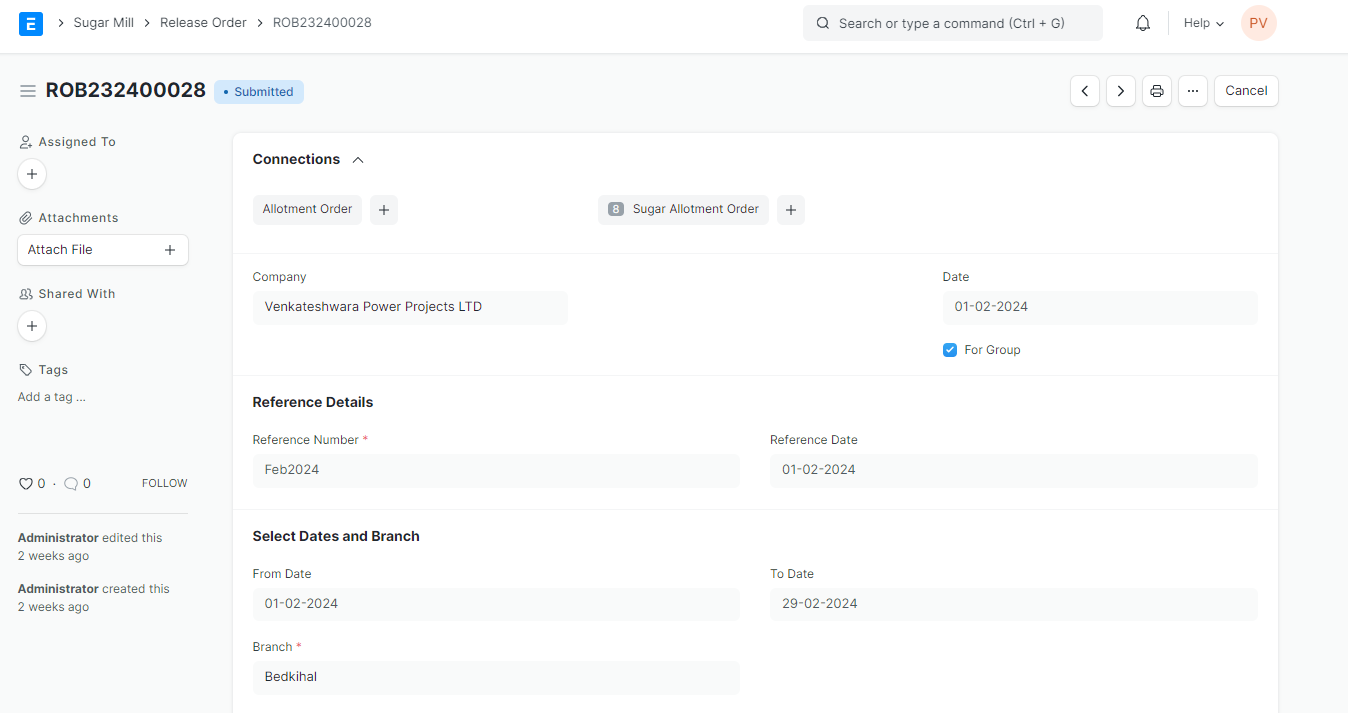
Step 1: Go to Release Order & click on "Add Release Order".
Step 2:
Enter Release Order Details:
Reference Number: Enter a unique identifier for this release order.
Reference Date: Add reference date in reference date box.
Branch: Select Branch from the dropdown menu.
Date Range:
Select the "From Date" using the calendar icon. This represents the start date for this release order.
Select the "To Date" using the calendar icon. This represents the end date for this release order.
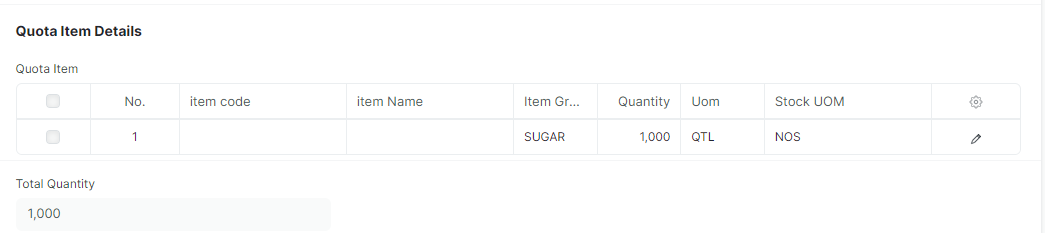
Add Items:
Item Code: Select the Items. Once we select the Item Code, Item Name, Item Group, UOM, Stock UOM will automatically fetched.
Quantity: Enter the number of units being released for this item group.
Step 3: Click on "Save".
Release order Report
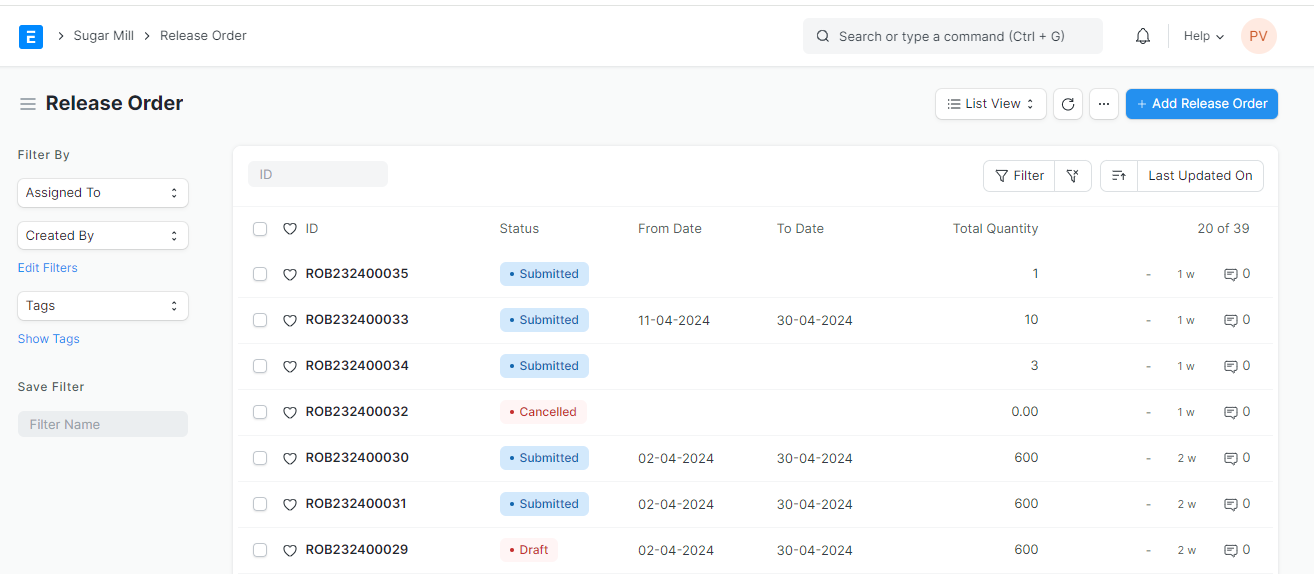
Steps to check Release Order Report.
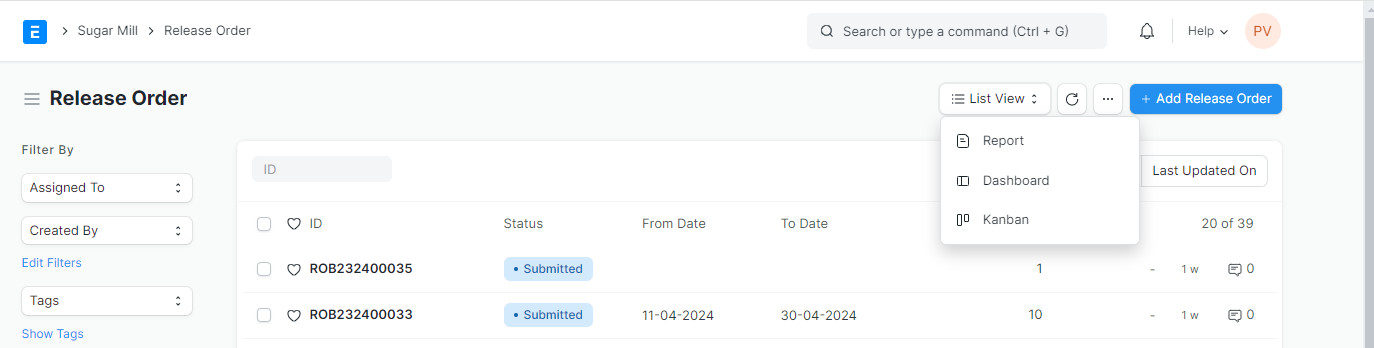
Step 1: Open the document type for "Release Orders."
Step 2: Look for a "List View" section. Click on "Report".
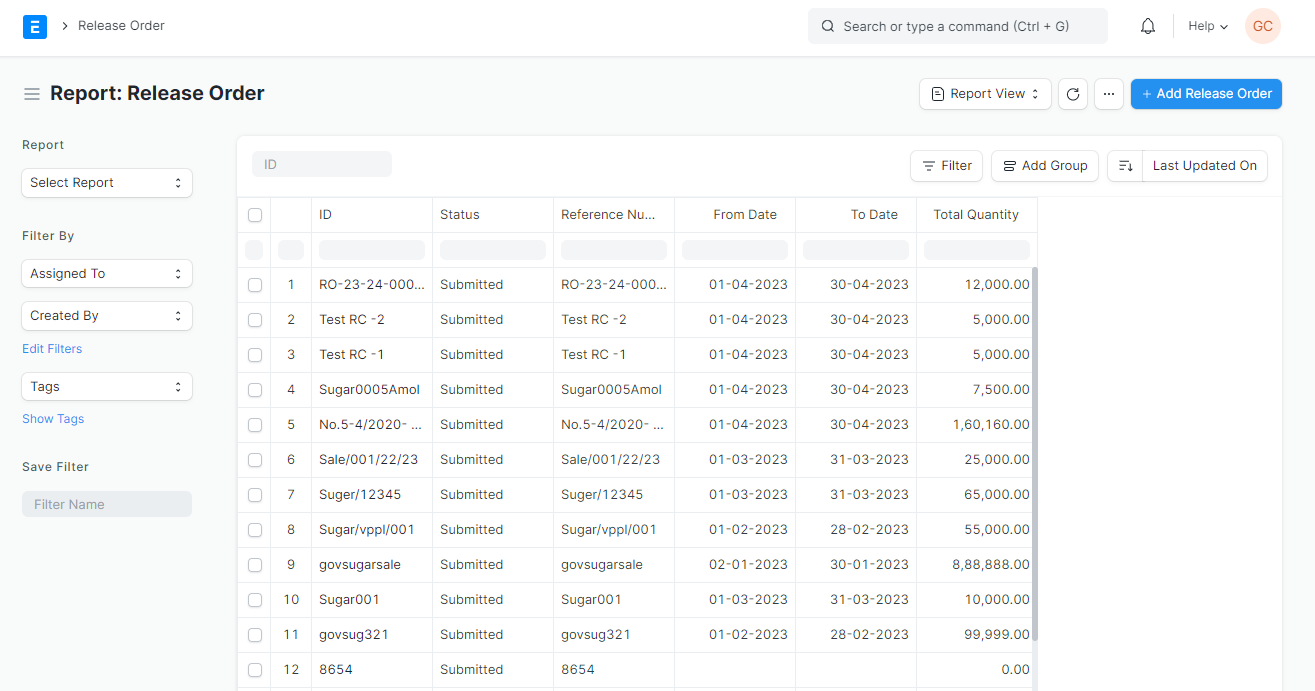
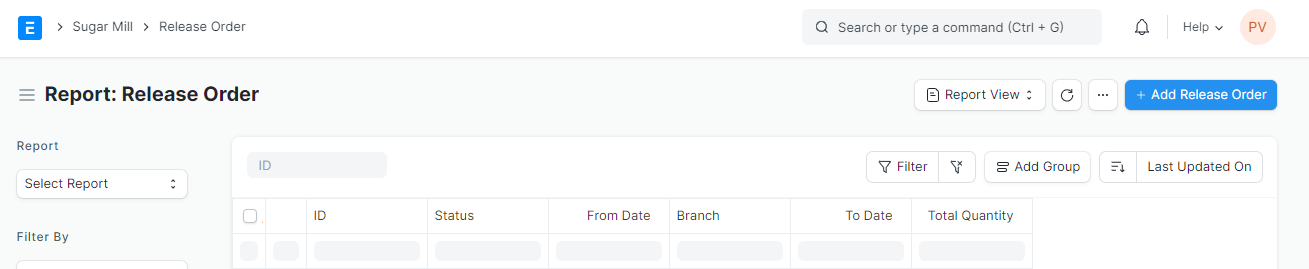
Step 3: The report will display information like status, date range (from and to), and release order quantities.
Use the "ID" filter to find a particular release order.
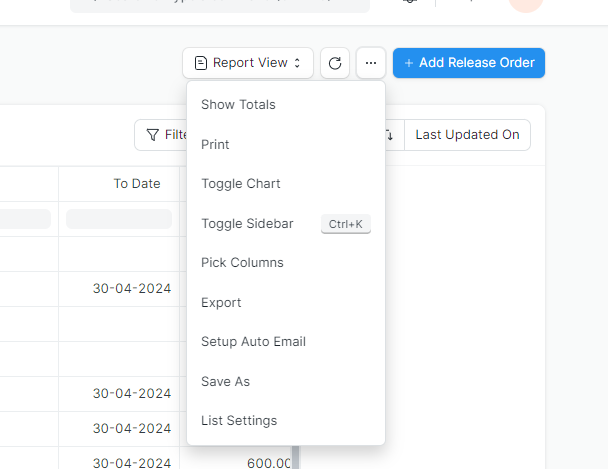
Look for a button with three dots & Click. Dropdown list will appear.
Click on "Export" option.
Click on "Export" option.
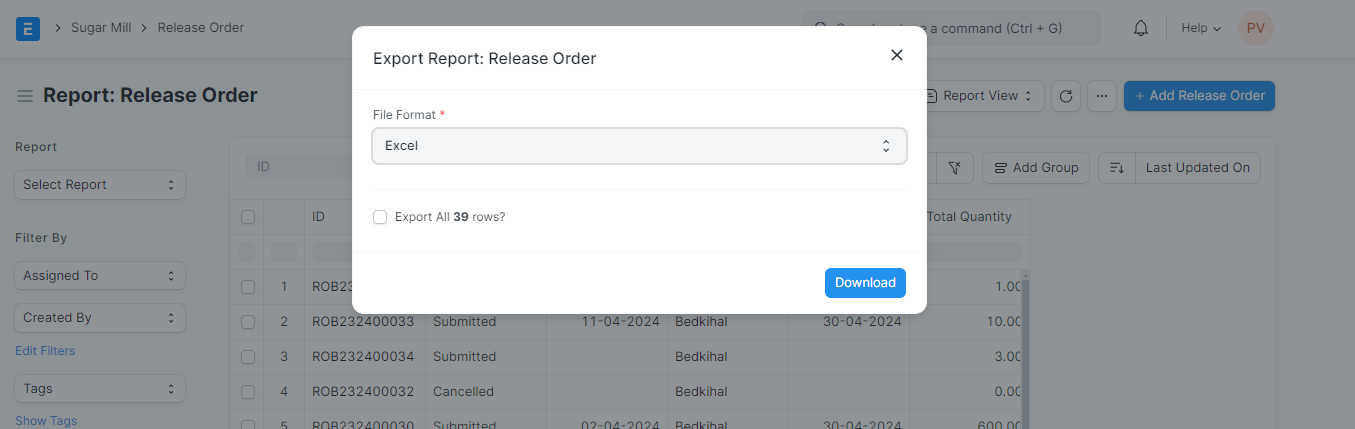
Choose "Excel" to export the report in a spreadsheet format.
Click "Download" to save the report to your device.
Sugar Allotment Order
Sugar Mill > Sugar Delivery > Sugar Allotment Order
Prerequisite for the Sugar Allotment Order:
Release Order
Customer
Branch
Season
Sales Type
Item
Item Group
Terms and Conditions
Steps to create Sugar Allotment Order in ERPNext:
Step 1: Go to Sugar Allotment Order & Click on "Add on Sugar Allotment Order".

Step 2:
Order Type: Choose the desired order type.
Customer: Select the customer from the dropdown menu associated with the item.
Tender Dates: Specify the "From Date" and "To Date" of the tender process.
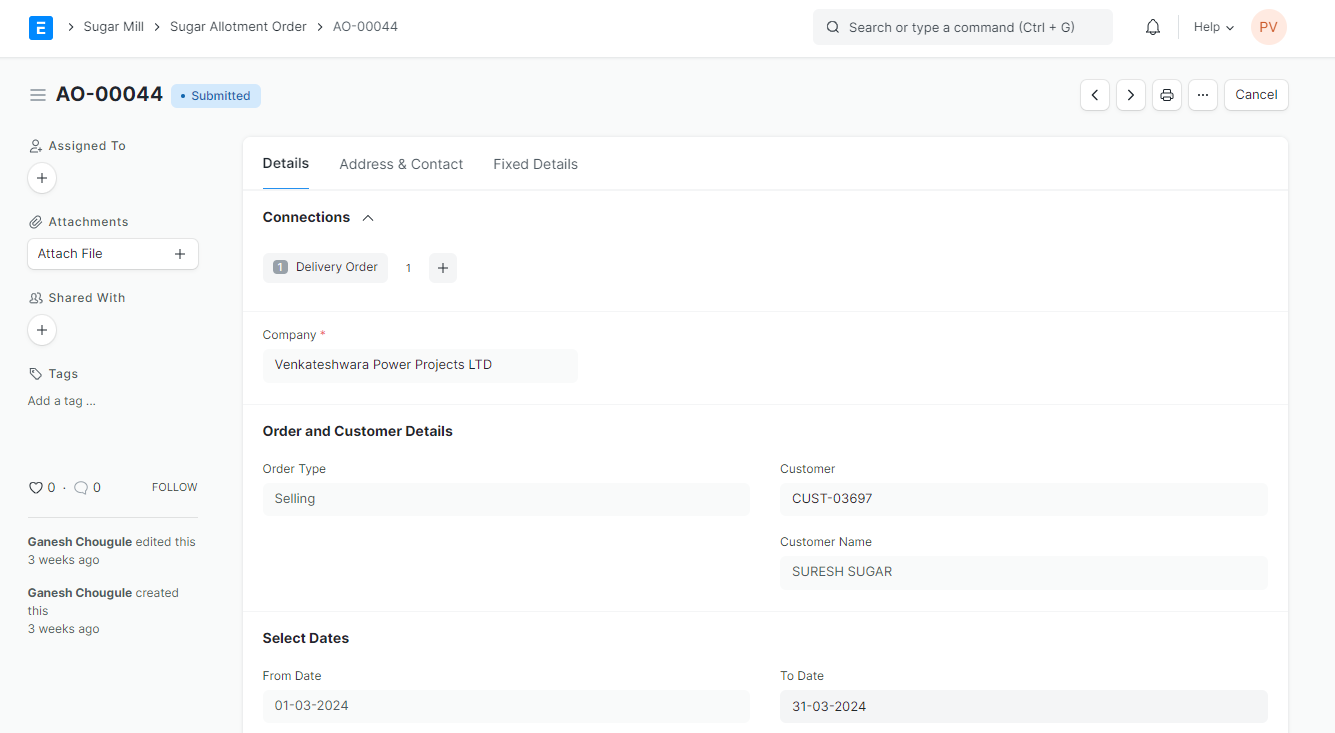
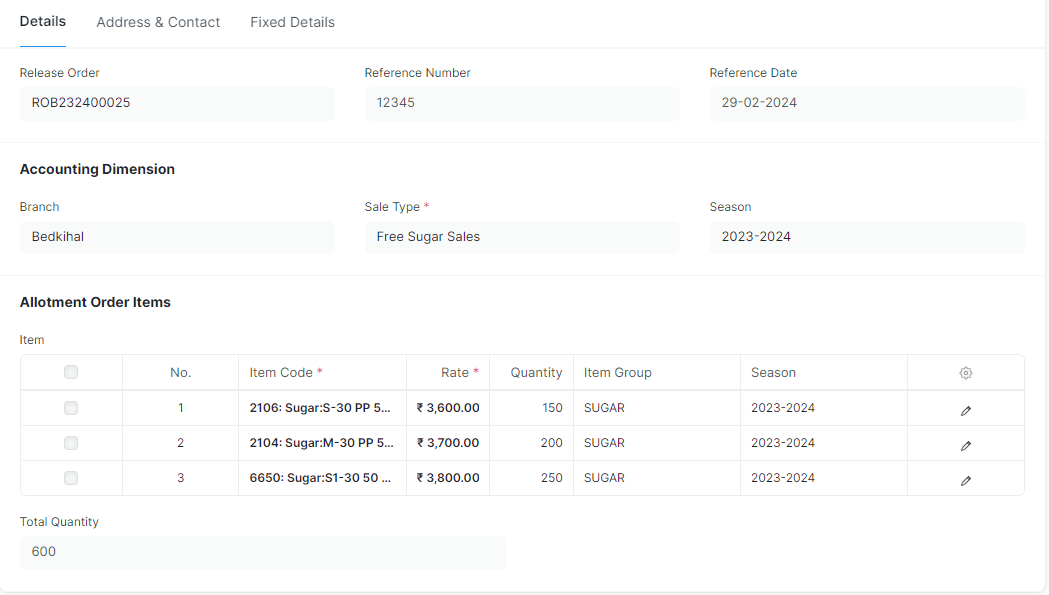
Release Order: Select the release order from the designated field. Once we select the Release Order, Reference Number, Reference date will automatically get fetched.
Adding Allotment Items
Item Table: This section allows you to define the specific items included in the allotment order.
Item Code: Enter the code corresponding to each item.
Season: Specify the season associated with the item.
Allocated Quantity: In the "Quantity" row, input the quantity allocated for each item.
Rate per Kg: Indicate the rate per kilogram for each allotted item.
Wagan: enter the weight for each item.
Sales type: Select the sales type.
Season: Select the season.
Total Quantity & Cost: The system will automatically calculate the total quantity and total cost based on the information entered in the item table.
Terms and Conditions: Select the terms and conditions.
Address Section
Billing Address: Once we select customer, Billing and shipping address gets automatically fetched.
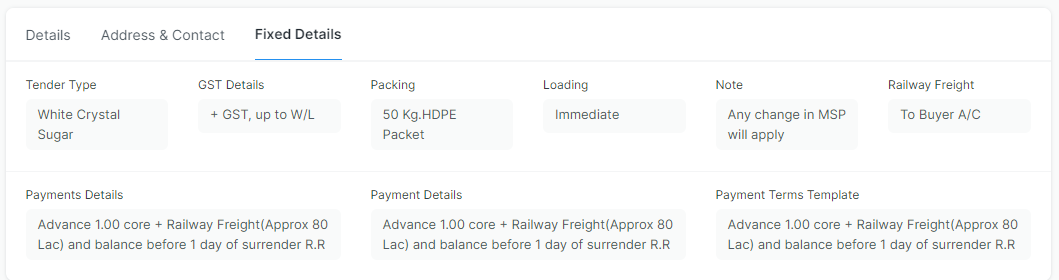
Fixed Detail Section
Tender Type: Select the appropriate tender type from the designated dropdown menu.
GST Details
A dedicated section for capturing details related to Goods and Services Tax (GST).
Packing: Specify the details regarding the packing process.
Loading: Choose your desired loading schedule from the following options:
Immediate
Last of the Month
Within 10 Days
Others
Note: Add any relevant notes
Railway Freight: Include details related to railway freight
Payment Terms Template: Select a pre-defined payment terms template, which likely includes information such as due dates, discounts, or payment methods.
The system may automatically populate some of these fields based on pre-defined settings. However, you can edit this information as needed to ensure accuracy.
Step 3: Click on "Save".
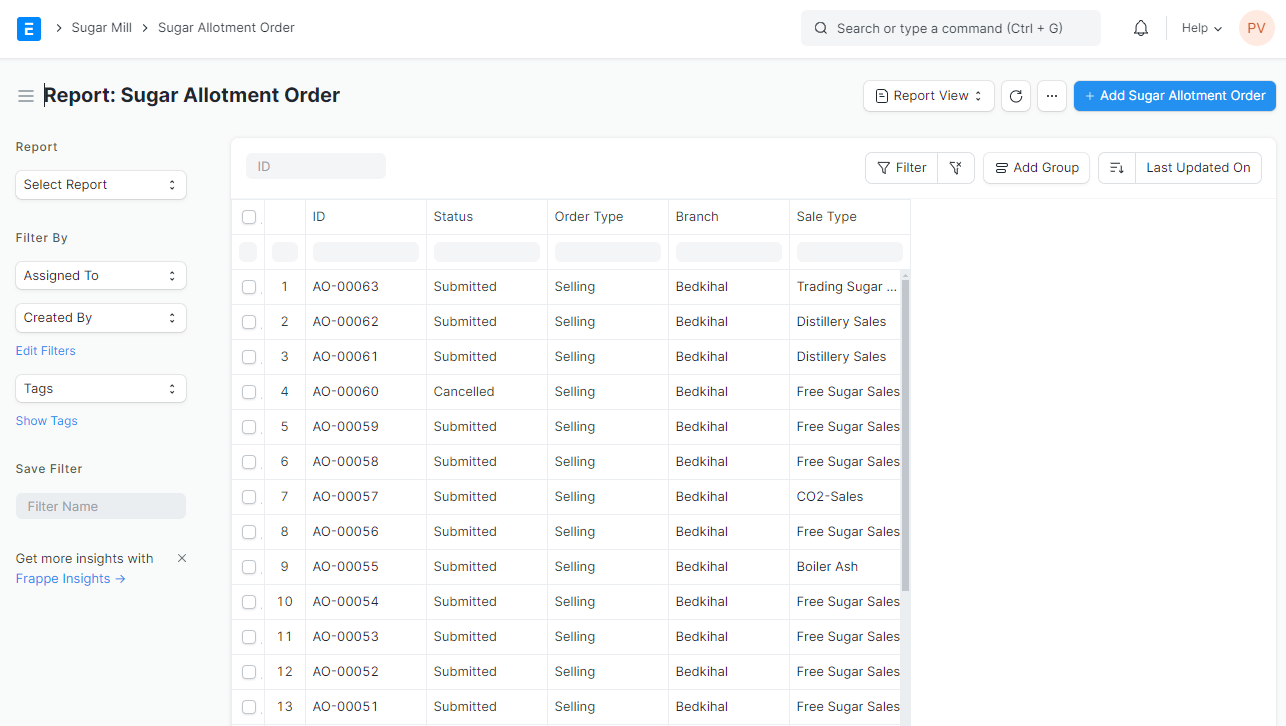
Sugar Allotment Report
Follow the previous steps to check Sugar Allotment Order.
Delivery Order
Sugar Mill > Sugar Delivery > Delivery Order
Prerequisite for Delivery Order:
Sugar Allotment Order
Item Group
Item
Item Tax Template
Customer
Steps to create Delivery Order in ERPNext:
Step 1:
Go to Delivery Order and click "Add Delivery Note". Or If your delivery order is linked to an existing allotment order, you can access it through the allotment order itself. Go to the allotment order, navigate to the Connection tab, and choose Delivery Order. The system will automatically populate the delivery order with relevant details from the allotment order.

Step 2:
Series, Order Type & Date: These fields are automatically generated by the ERPNext system based on pre-defined configurations.
Customer: Select the customer associated with the delivery order from the designated dropdown menu.
Delivery Date: Indicate the expected delivery date for the items.
Customer Purchase Order: If the customer provided a purchase order number, enter it here.
Customer's Purchase Order Date: Enter Customer's Purchase Order Date.
Permit No: Mention the Permit Number.
Cost Centers: Select the relevant Cost Center.
If your delivery order is linked to an existing allotment order, it will automatically fetch details of Release Order, Sugar Allotment Order, Sale Type, Sugar Allotment Order Customer, Sugar Allotment Order Customer Name, Branch, Season.
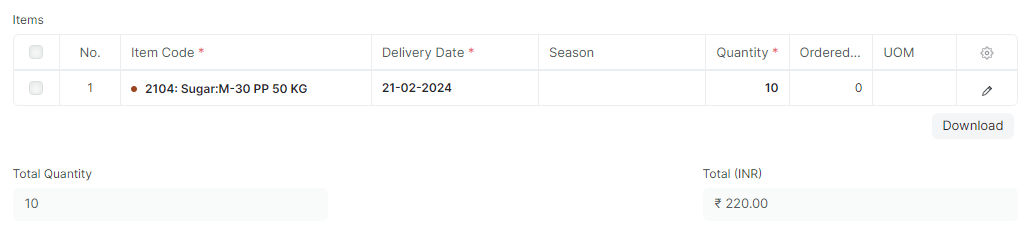
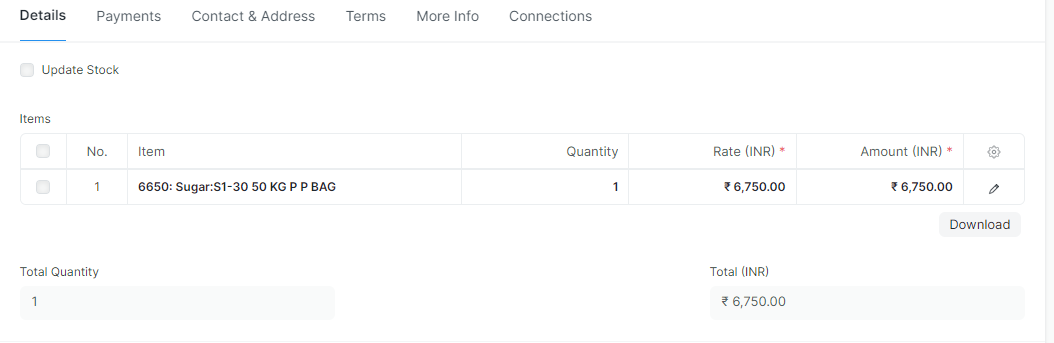
Enter 'QTL' here as input UOM in Items Child Table.
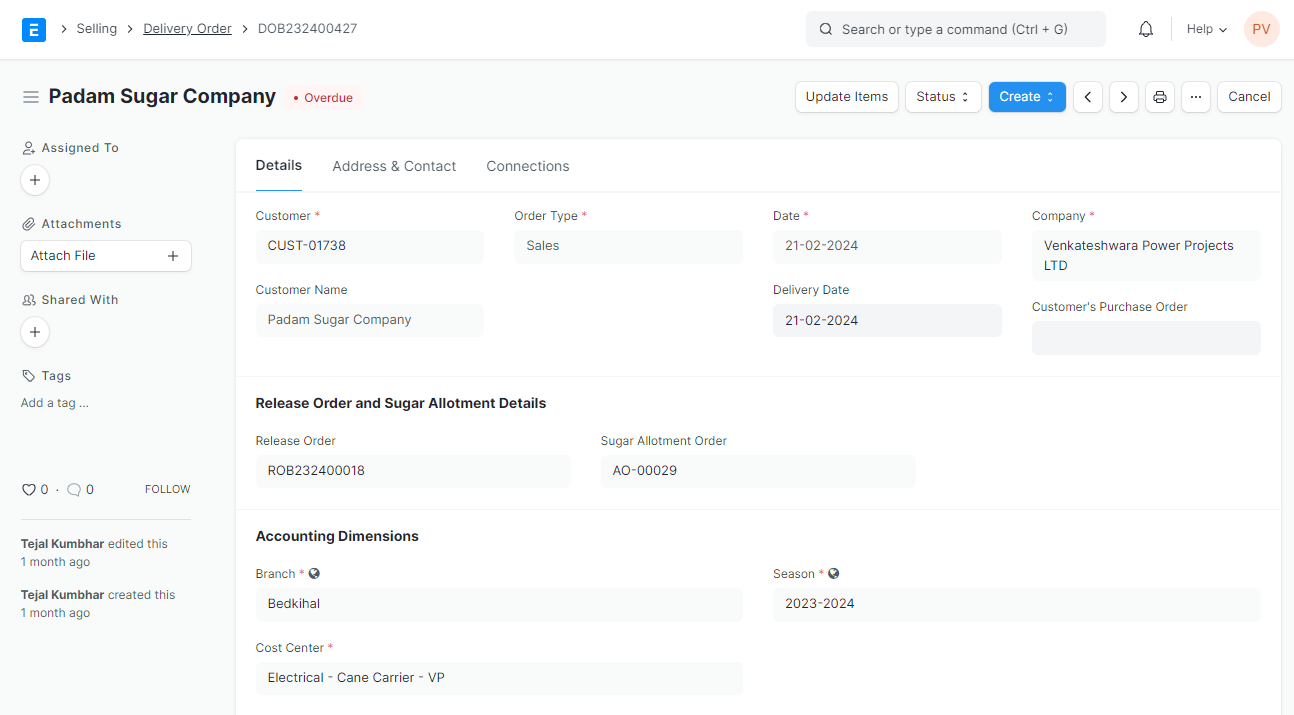
Based on Sugar Allotment Order, details of Items, Season, Quantity, Stock UOM, will automatically fetched.
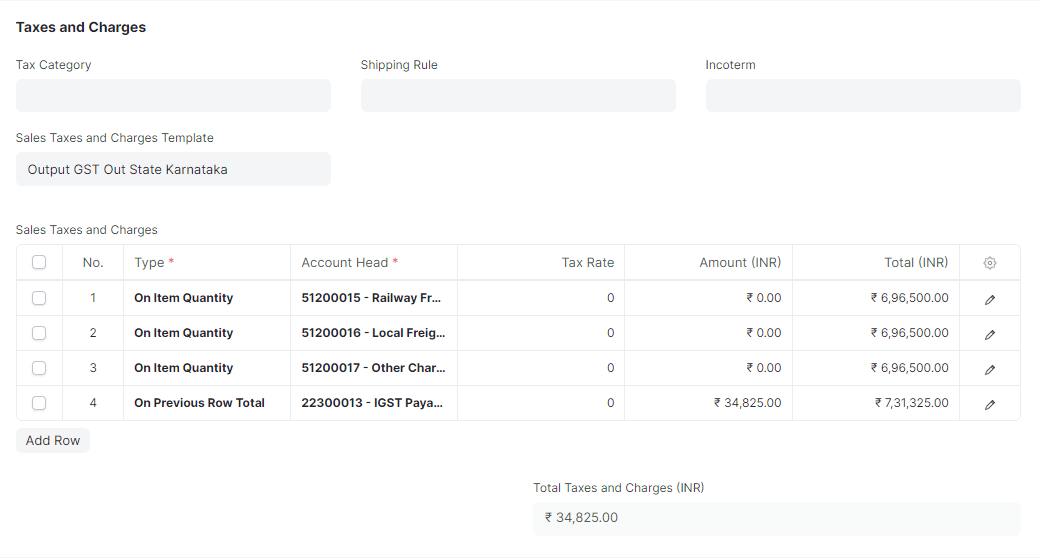
Tax Category: Select the appropriate tax category for the delivered items.
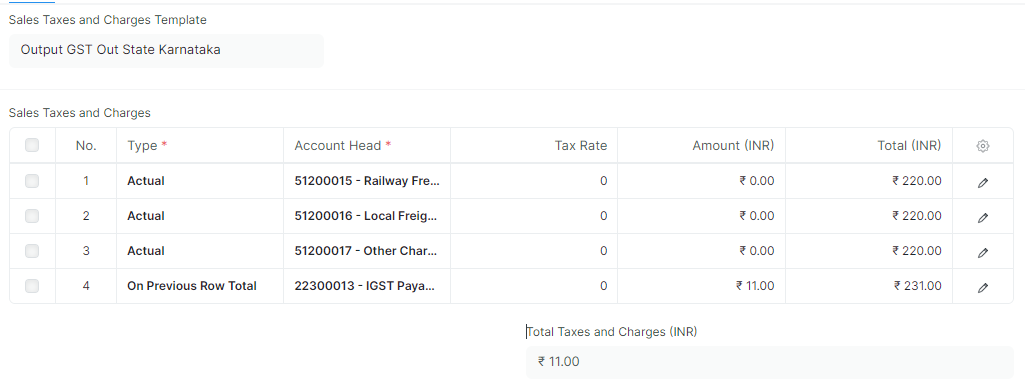
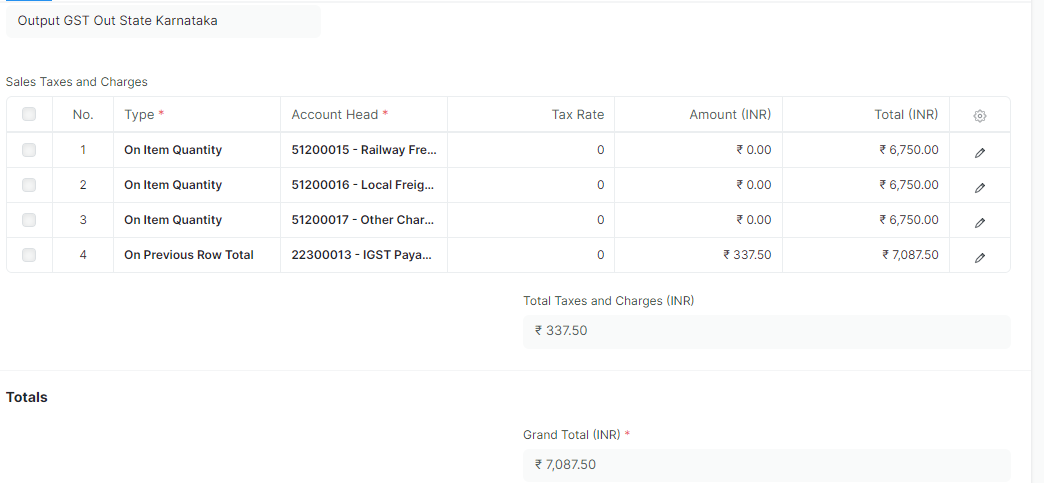
Sales Tax and Charges Template: It will auto fetch the rate as per item tax template assigned to the item. As per the item tax template, System will auto fetch Payment type, Account Head, Tax Rates, Amount & Total Amount. The system will automatically calculate the overall total amount for all taxes and charges.
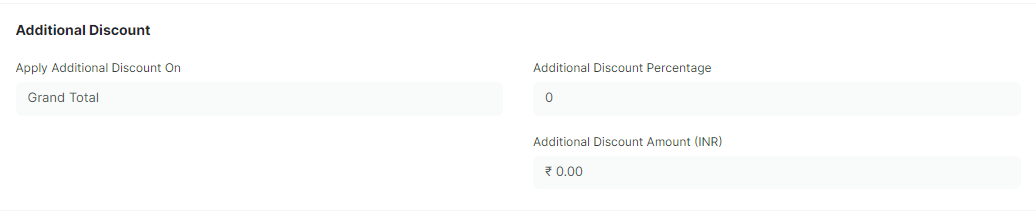
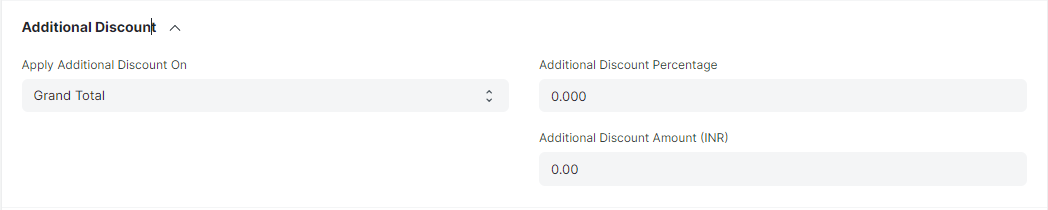
Additional Discounts
ERPNext offers the flexibility to choose where the additional discount is applied:
Grand Total: Selecting this option applies the discount to the final order amount after including all taxes and charges.
Net Total: Choosing this option applies the discount to the subtotal of the order before taxes and charges are added. Either enter a percentage value in the "Additional Discount Percentage" or a fixed rupee amount in the "Additional Discount Amount (INR)" field.
Step 3: Click on "Save".
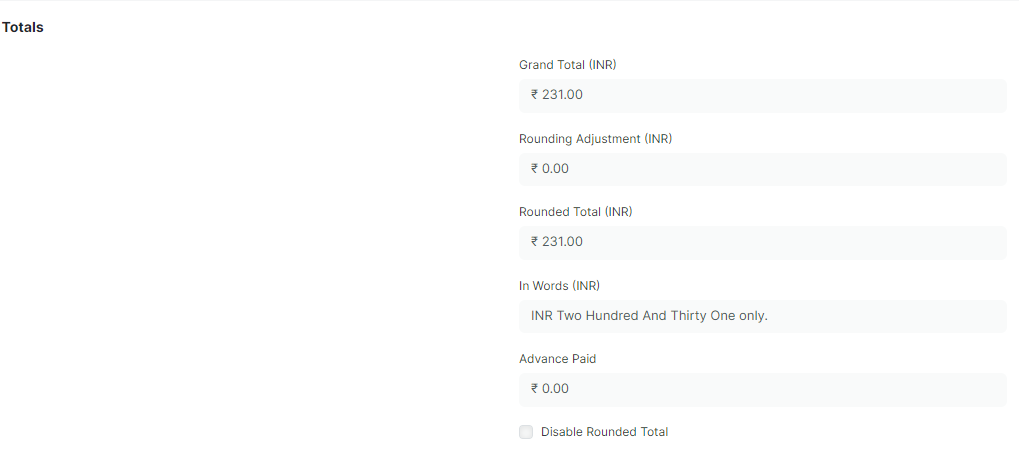
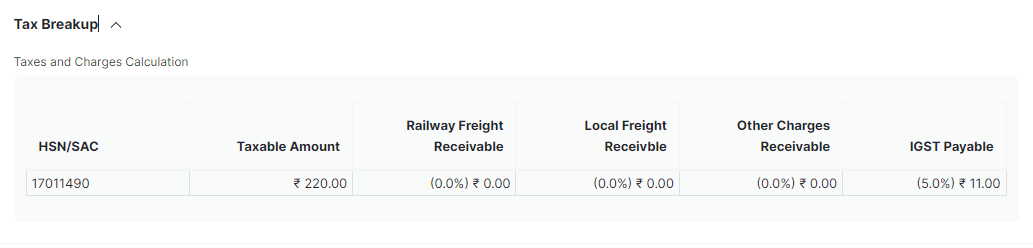
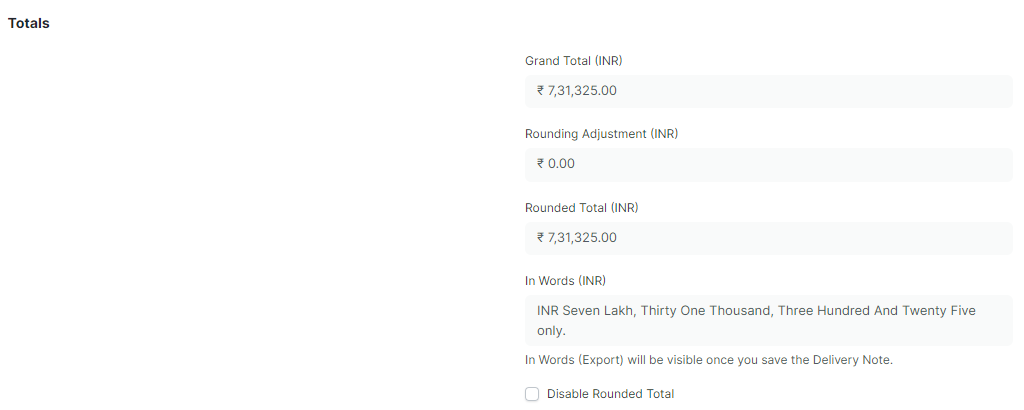
Thereafter we can view the tax break up
Address Section
Billing Address: Once we select customer, Billing and shipping address gets automatically fetched.
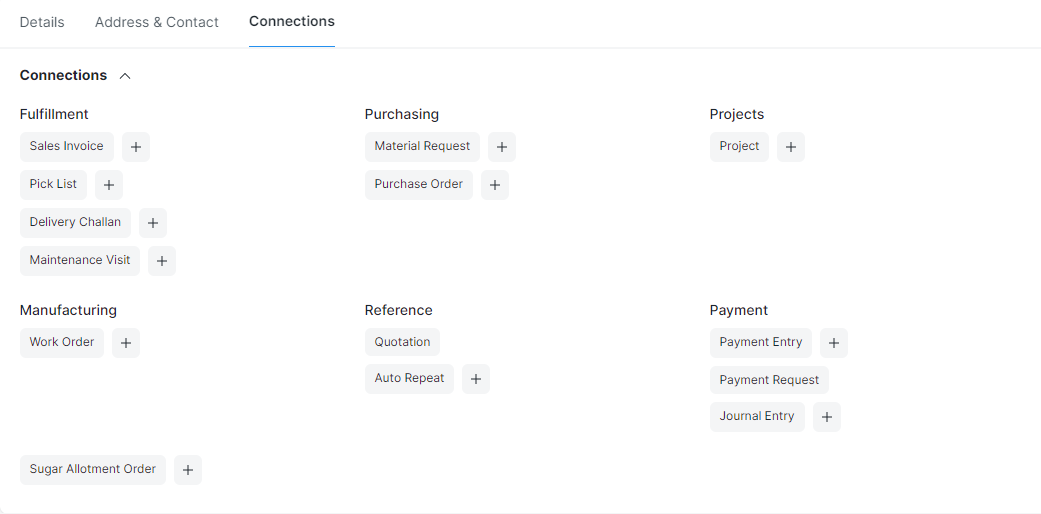
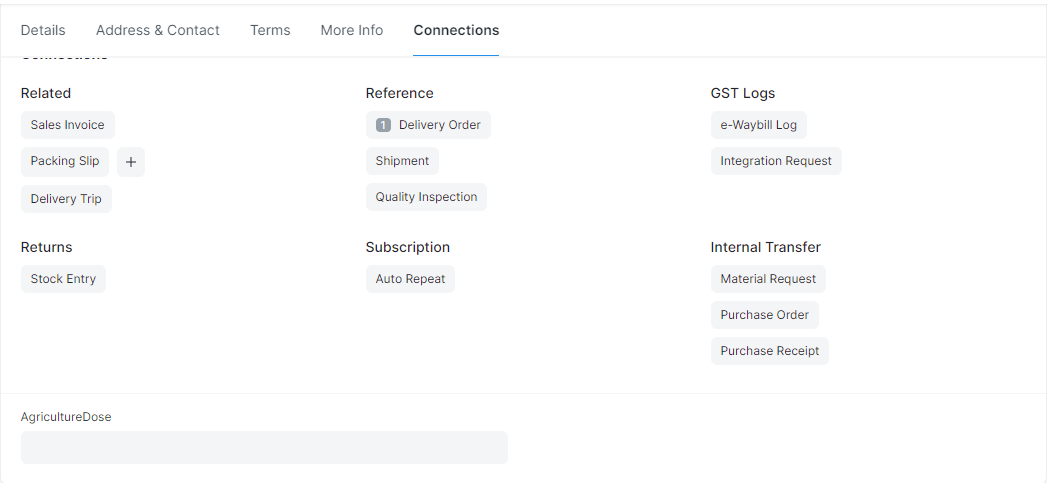
Through Connections we can navigate to the transactions.
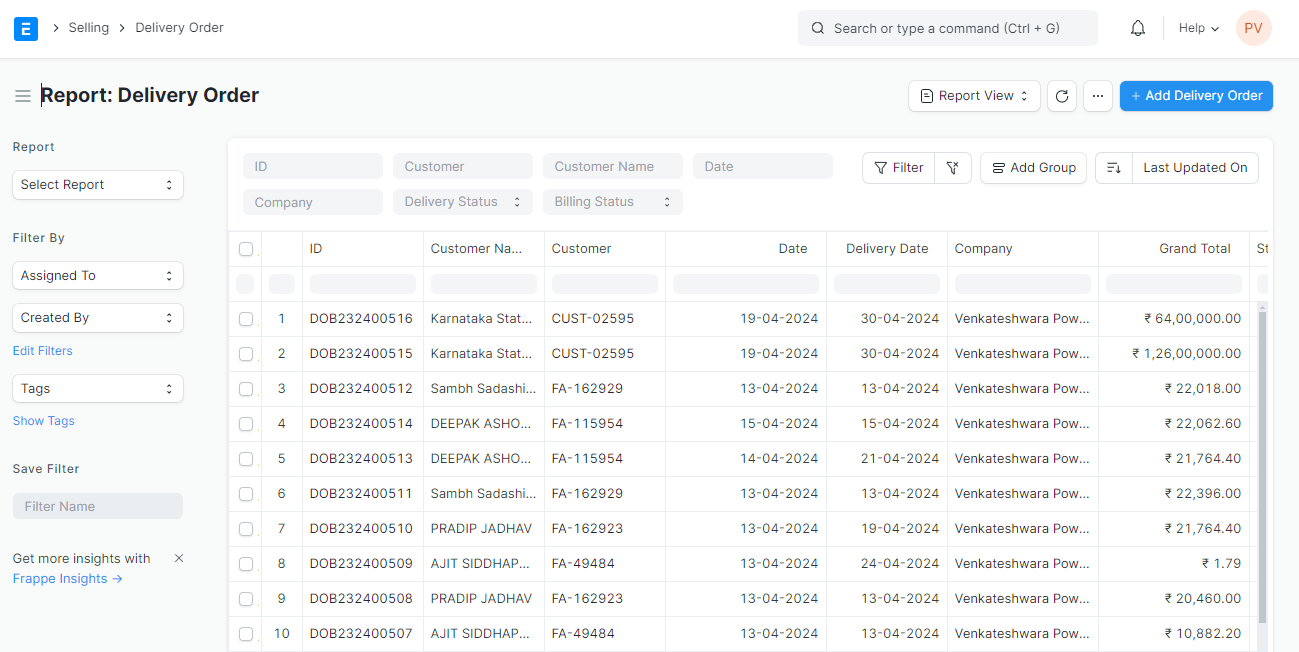
Delivery Order Report
Follow the previous steps to check Delivery Order Report.
Delivery Challan
Sugar Mill > Sugar Delivery > Delivery Challan
Prerequisite for Delivery Order:
Release Order
Sugar Allotment Order
Delivery Order
Item Group
Item
Item Tax Template
Customer
Department
Terms & Condition Template
Transporter ( Supplier)
Driver
Vehicle
Steps to create Delivery Challan in ERPNext:
Step 1: There are two ways to access the delivery challan form:. Go to Delivery Challan and Click on "Add Delivery Challan". If your delivery challan is linked to an existing delivery order, you can access it through the delivery order itself. Go to the delivery order, navigate to the Connection tab, and choose Delivery Challan. The system might pre-populate some challan fields with relevant details from the delivery order.
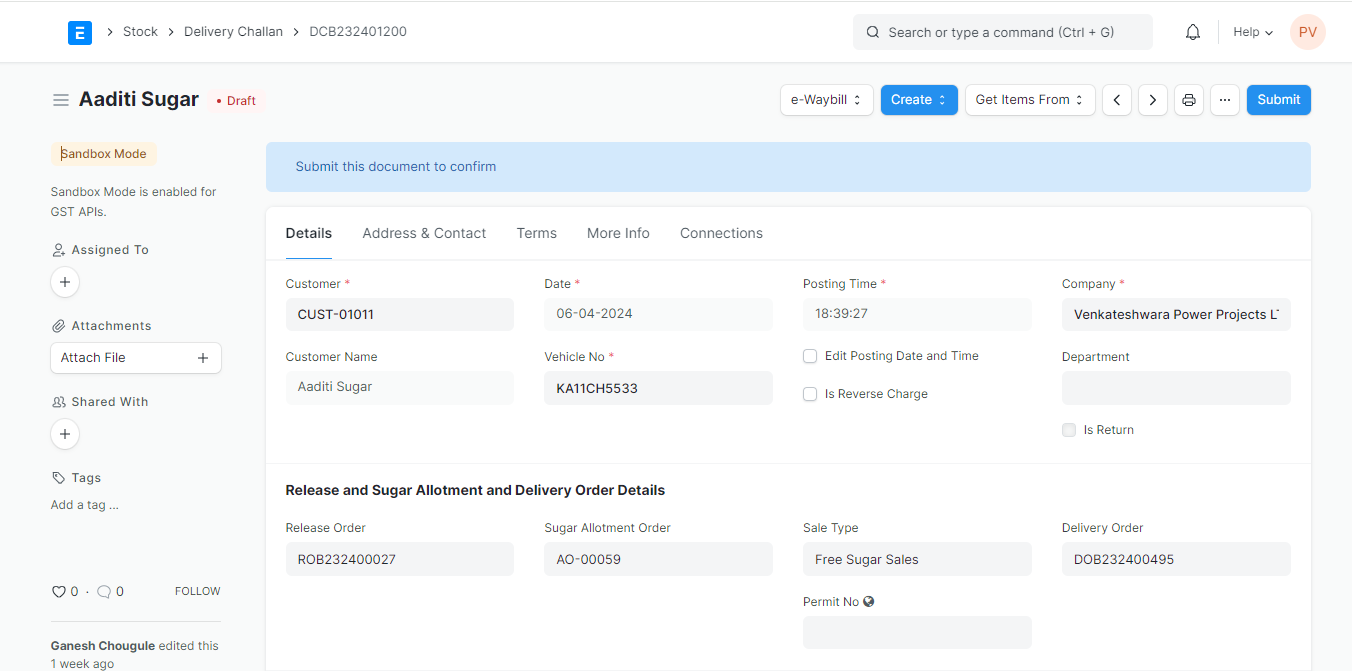
Step 2:
Series & Date: These fields are automatically generated by the ERPNext system based on pre-defined configurations.
Customer: Select the customer associated with the delivery challan.
If your delivery challan is linked to an existing delivery order, it will automatically fetch details of Release Order, Sugar Allotment Order, Sale Type, Sugar Allotment Order Customer, Sugar Allotment Order Customer Name, Delivery Order, Branch, Season, Cost Center.
Vehicle No: Enter the Vehicle Number.
Department: Select the department.
Permit No: Mention the Permit Number. If your delivery challan is linked to an existing delivery order, it will automatically fetch details.
Division: Select the relevant Division.
Click on Get Gross Weight & Get Tear Weight. System will auto fetch the details.
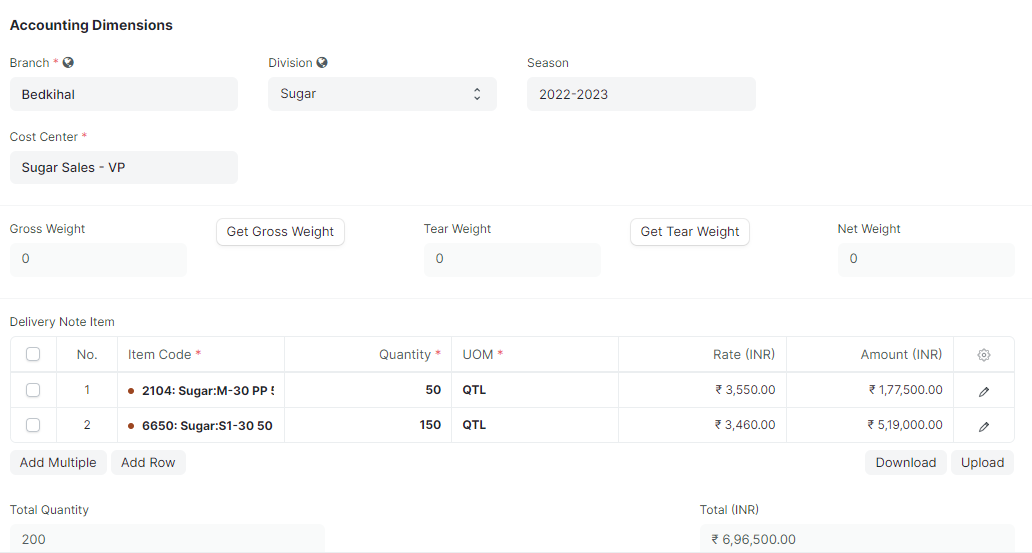
If your delivery challan is linked to an existing delivery order, all the tax related details along with Grand Total will get fetched.
Additional Discounts
ERPNext offers the flexibility to choose where the additional discount is applied:
Grand Total: Selecting this option applies the discount to the final order amount after including all taxes and charges.
Net Total: Choosing this option applies the discount to the subtotal of the order before taxes and charges are added. Either enter a percentage value in the "Additional Discount Percentage" or a fixed rupee amount in the "Additional Discount Amount (INR)" field.
Address Section
Billing Address: Once we select customer, Billing and shipping address gets automatically fetched.
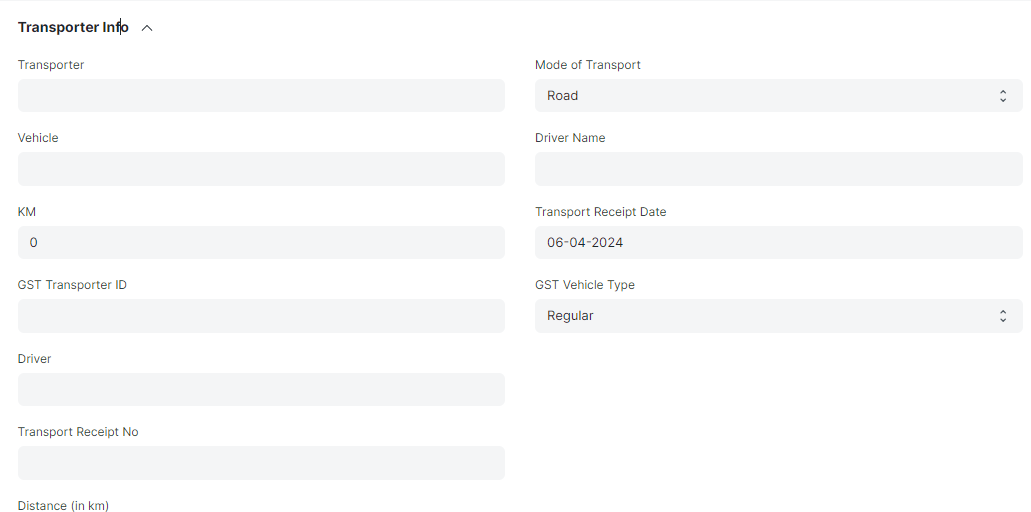
"More Info" section to capture transportation details
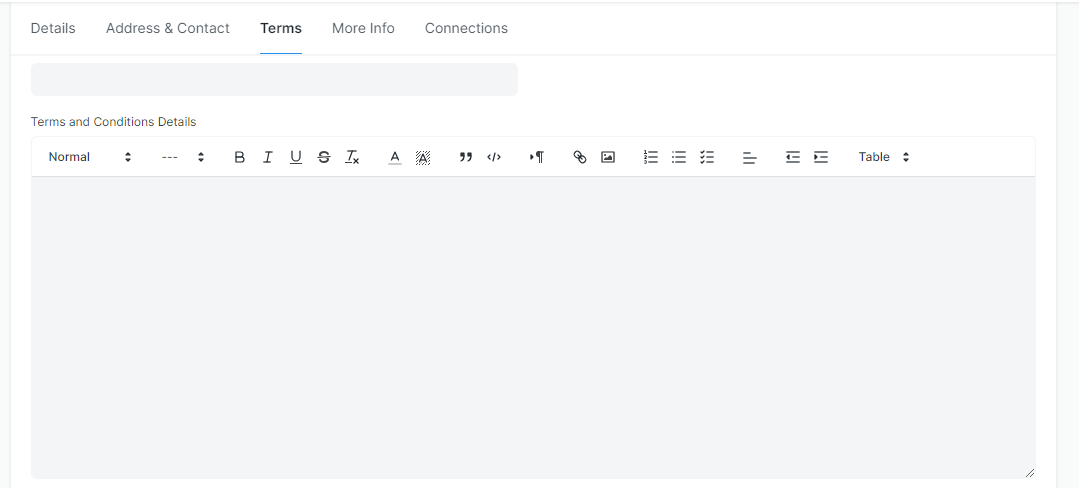
In Terms Section, add term & conditions.
Through Connections we can navigate to the transactions.
Step 3: Click on "Save".
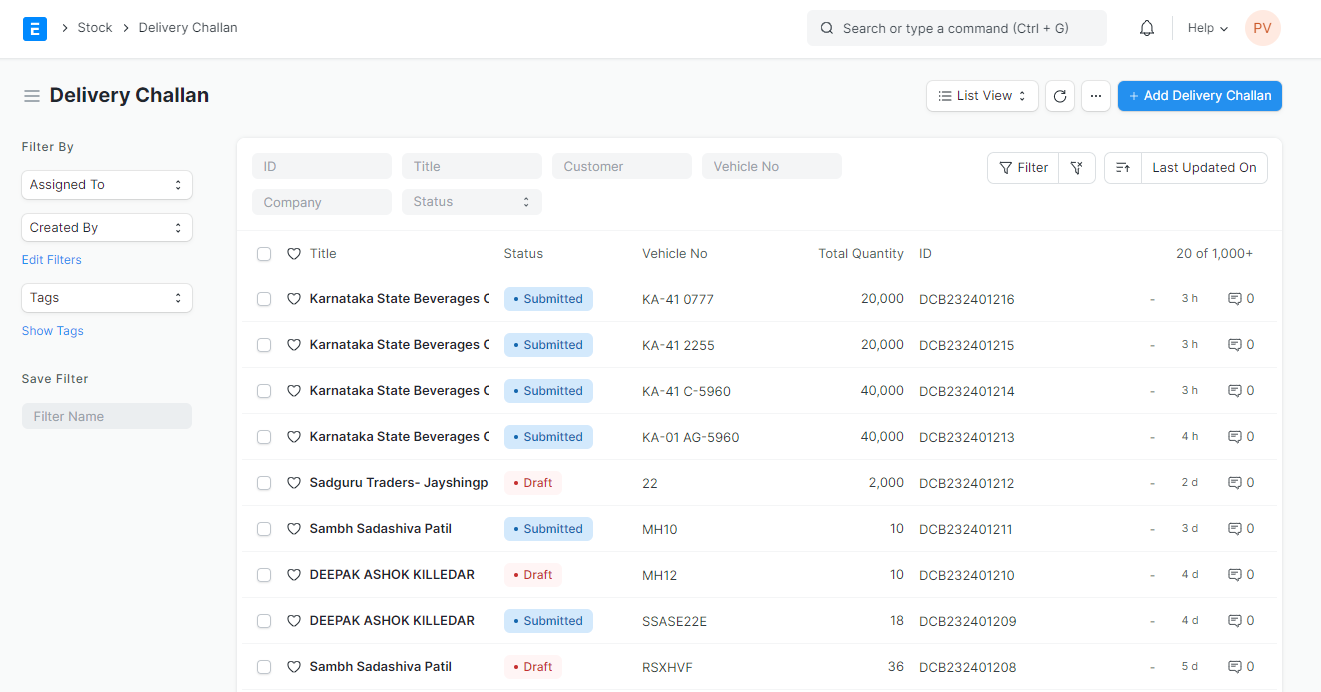
Delivery Challan Report
Follow the previous steps to check Delivery Challan Report.
Sales Invoice
Sugar Mill > Sugar Delivery > Sales Invoice.
Steps to create Sales Invoice in ERPNext:
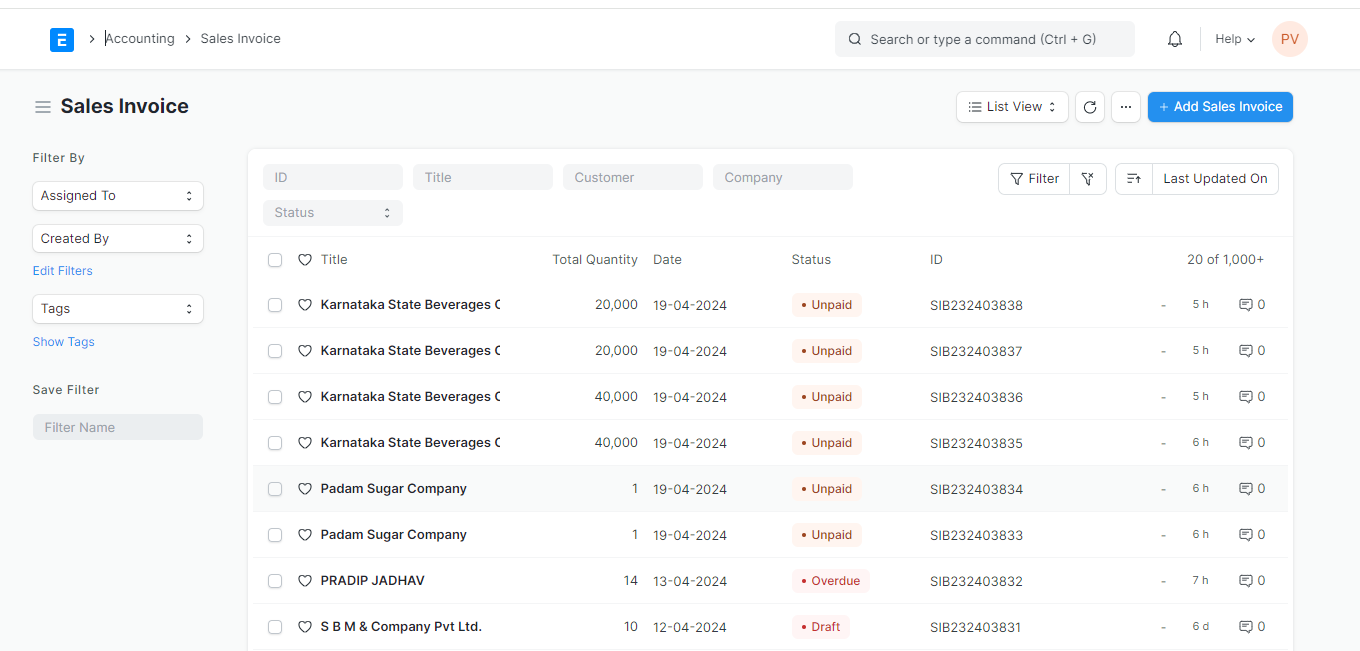
Step 1: Go to Sales Invoice & Click on "Add Sales Invoice".
If your Sales Invoice is linked to an existing delivery challan, it will automatically fetch details of Customer, Delivery Challan, Company, Date, Permit No, Posting Time, System allows you to edit the date and time the invoice was created.
Payment Due Date: This field allows you to set a custom due date for the invoice payment.
Include Payment (POS): This checkbox allows you to mark the invoice as paid at the point of sale.
Is Return (Credit Note): This checkbox is used to mark the invoice as a return or credit note.
Sale Type: This field allows you to select the type of sale from a predefined list.
Is Rate Adjustment Entry (Debit Note): This checkbox allows you to mark the invoice as a debit note for adjusting an existing sales invoice with a quantity of zero.
Tax Withholding Category: This field allows you to select the appropriate tax withholding category for the customer.
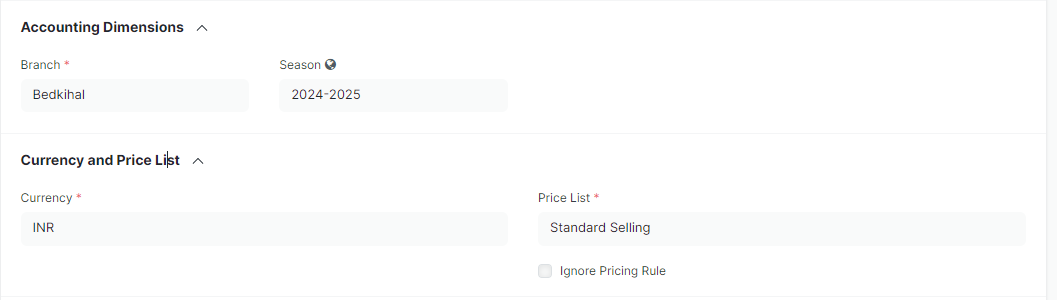
If your Sales Invoice is linked to an existing delivery challan, it will automatically fetch details of Accounting Dimensions, Currency and Price List, Items Table, Quantity, Rate, Amount.

If If your Sales Invoice is linked to an existing delivery challan, all the tax related details along with Grand Total will get fetched.
Additional Discounts
ERPNext offers the flexibility to choose where the additional discount is applied:
Grand Total: Selecting this option applies the discount to the final order amount after including all taxes and charges.
Net Total: Choosing this option applies the discount to the subtotal of the order before taxes and charges are added. Either enter a percentage value in the "Additional Discount Percentage" or a fixed rupee amount in the "Additional Discount Amount (INR)" field.
Address Section
Billing Address: Once we select customer, Billing and shipping address gets automatically fetched.
In Payment Section, add details of Advance payment by clicking on Get Advance Received and Loyalty Points if any.
In Terms Section, Select the Payment Terms, it will mention the portion of invoice to be paid on Due Date.
In Terms Section, add term & conditions.
Step 3: Click on "Save".