Vendor Payment Entry
Sugar Mill > Vendor Payment > Vendor Payment Entry
Steps to create 'Vendor Payment Entry'
Step 1: Go to Vendor Payment Entry list and click on "Add Vendor Payment Entry"
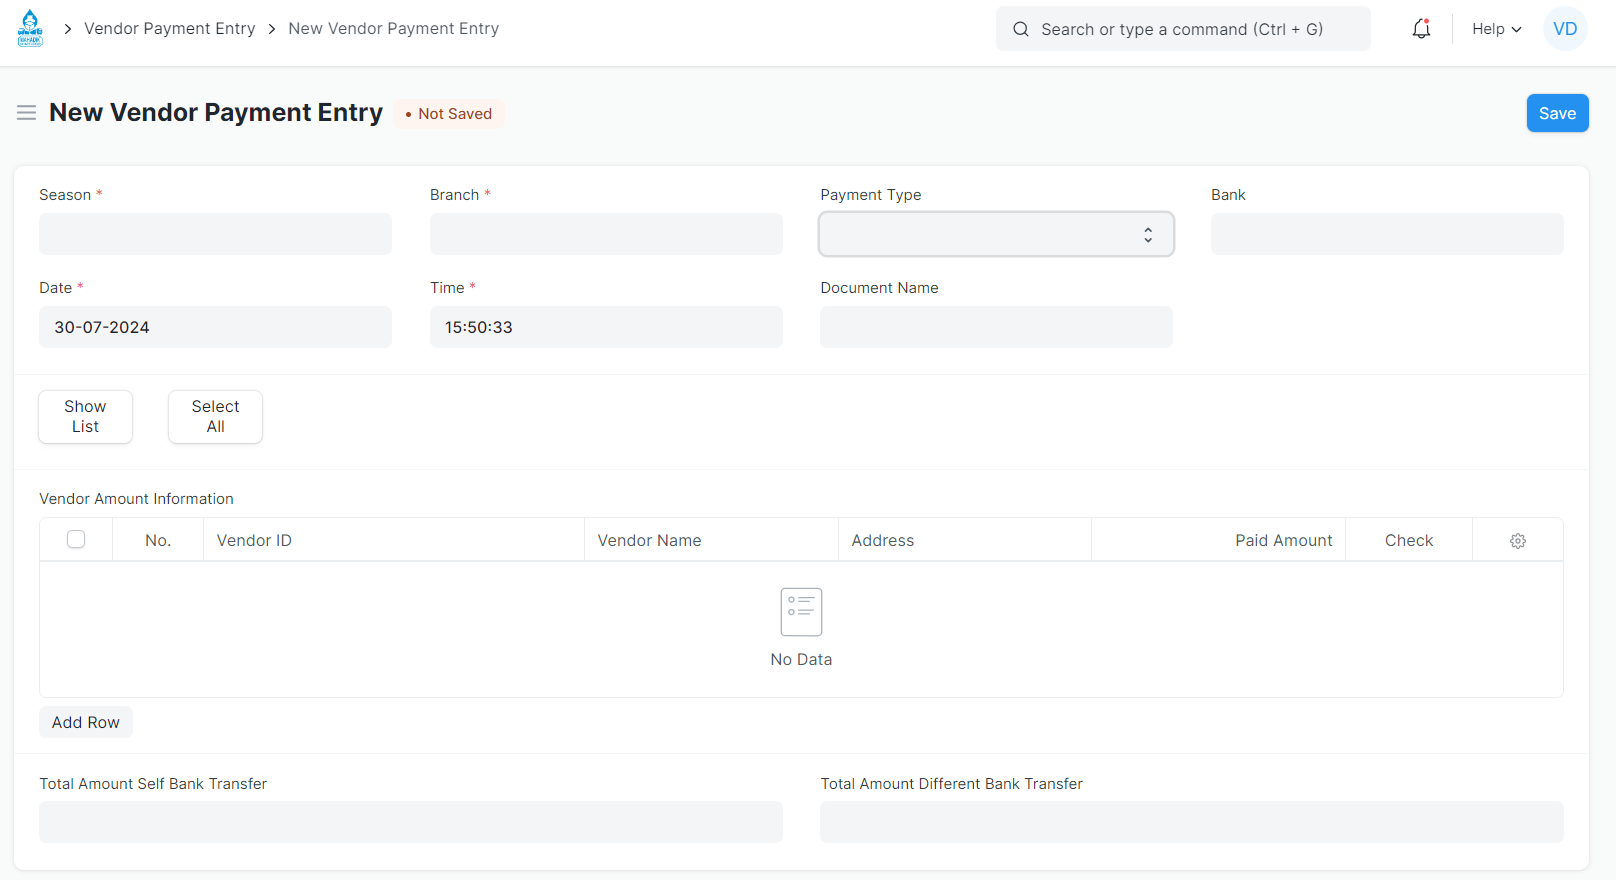
Step 2: After you clicked on Add Vendor Payment Entry, a new screen will appear.

Season: Select the season for vendor payment.
Branch: Select the Branch from the list.
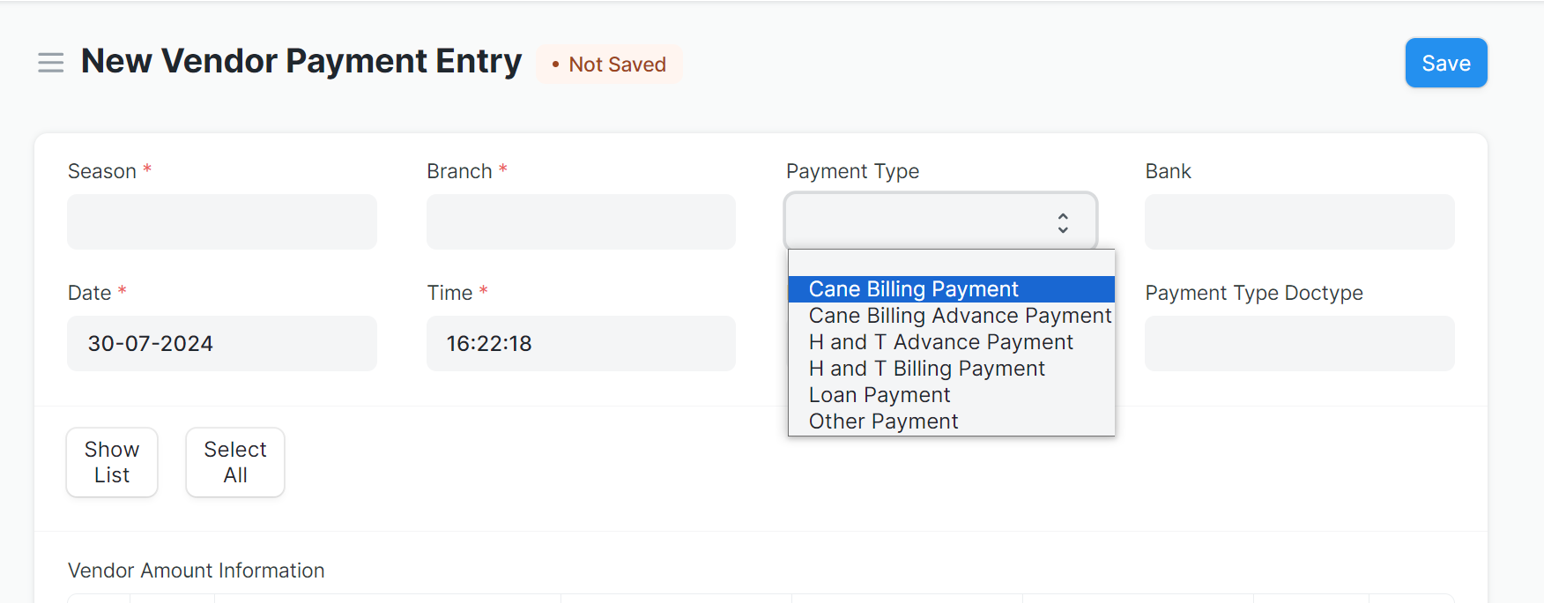
Payment Type: Select the Payment Type from this list.

Bank: Select the bank.
Date: Automatically set the today's date in Date; you can change this date.
Time: Automatically set the current time in Time; you can change this time.
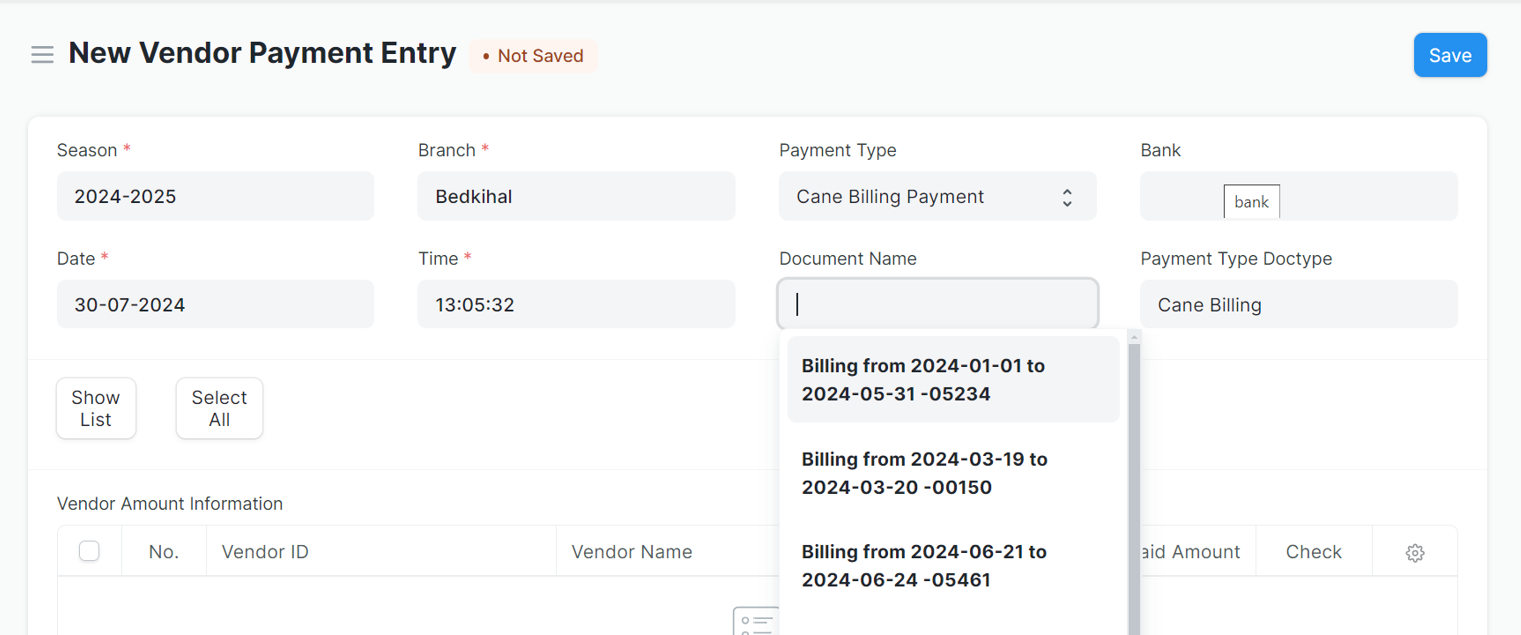
Document Name: The 'Document Name' field contains a name list according to Season, Branch, and Payment Type. You must select these three fields.

Payment Type Doctype: This field will automatically set when you select 'Payment Type'.
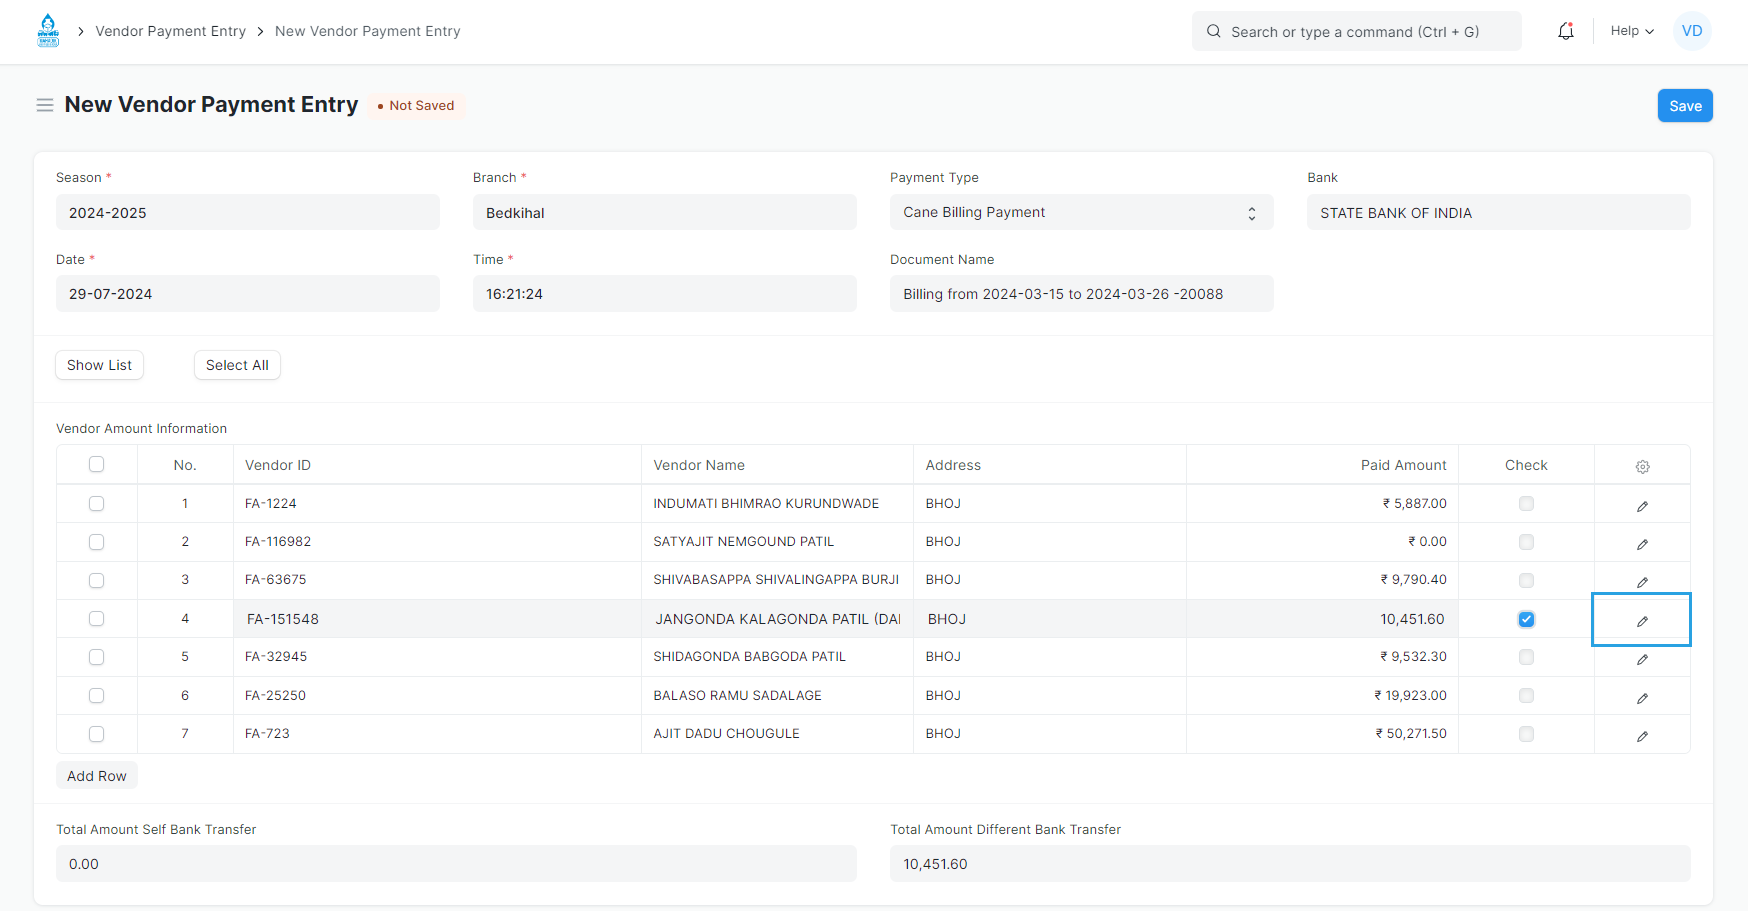
Show List: After selecting the above fields data, just click the 'Show List' button.
Vendor Amount Information: When clicked on the 'Show List' button. You will get a list in the 'Vendor Amount Information' table.
Vendor Amount Information Detail: When you click on the edit button in the last column of the table, you will see details about that vendor.

Details of Vendor:
In this case, the Total Payable Amount is 10,451.60/-, and the Paid Amount may be the same or less than this amount. When Vendor Cheque Release is done, then the 'Total Paid Amount' field will be updated.
Total Amount Self or Different Bank Transfer:
If checkmark checked, vendor bank account and company bank account are the Same, then amount will show in 'Total Amount Self Bank Transfer'.
If checkmark checked, vendor bank account and company bank account is Different, then amount will show in 'Total Amount Different Bank Transfer'.
Step 3: After all the forms are filled out, click on the 'Save' button to save the details.